Creating, opening, or importing a project
Matrox Design Assistant can create and open project files on your development computer. The executable version of the project is copied to your runtime platform when you deploy the project.
To create, open, or import a project, use the File New Project, File Open Project, File Recent Projects, or File Import Project menu item after connecting to a runtime platform. To access sample projects, click on the Examples button in the Type tab of the Quick Start tab.
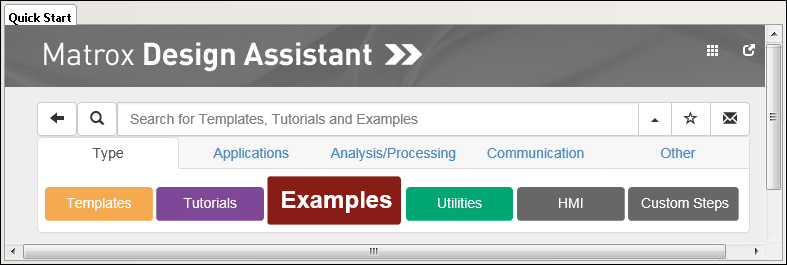
If your development computer has internet access, you can view new and updated sample projects, templates, and tutorials in the Quick Start tab. Depending on the content, you will be able to use the Download and open project button or the Upgrade example project button to access this new content. To view only new and updated content, click on the Only show me new and updated topics button at the top-right of the Quick Start tab.
You can also access the options of the Quick Start tab in a separate window. This is useful if you are watching a video tutorial and need to follow along in Matrox Design Assistant. To access the options of the Quick Start tab in a separate window, click on the following launch button, found at the top-right of the Quick Start tab:

 Details about
creating, opening, and importing
Details about
creating, opening, and importing
To create a project, follow the steps below using the New Project dialog, accessible from the Quick Start tab or the File Import Project menu item.
-
Enter a Name and Location for the new project. Use the Browse... button to choose a location on your development computer.
-
Specify Project settings.
-
Choose an Initial image source. Specify whether your project will run using images from a camera (From camera) or images stored on disk (From disk). Selecting From disk sets your Camera step to use image sets. Note that you can switch from an image set to a physical camera source (or vice-versa) once working on the project.
-
Choose a Camera Type. Note that you can select a different camera once working on the project.

The content of the Camera Type list can vary depending on which third-party sensors are installed on your computer.
-
Choose an Operator view template. For information on Operator view templates, see the Operator view templates and the default view subsection of the Page structure section in Chapter 50: Customizing the operator view.
-
-
Click OK. At this point, the interface refreshes and the Flowchart tab displays the default flowchart containing a Camera step and a Status step within a loop.
You can open an existing project from the Open dialog, accessible from the File Open Project menu item.
When opening a project with steps that are not permanently licensed, you are notified of the time left in your provisional license. When the provisional license expires, you can open projects with the now unlicensed steps, but they will be disabled, and you are notified about the package(s) that must first be licensed.
To import a previously deployed project from your runtime platform to your development computer, select it from the Import a project dialog, accessible from the File Import Project menu item, and provide the location to store it on your development computer. When importing a project, it automatically opens. You must be connected to the platform before importing a project from the platform.
To import a project from a previous (major) version of Matrox Design Assistant, you must install that version (side-by-side with the newer version), import the project, and then upgrade it using the newer version.